
The AR-15 upper comes in many different flavors, which, for the new shooter, can be tough to wrap your head around. Today I will do what I can to lay out what you should look for when getting an upper for your AR. We’ll talk a bit about pre-built and what to look for vs. building your own, and the later section will cover the upper piece by piece and discuss what to shop for when it comes to each part.
When it comes to pre-built upper receivers, you get the plug-and-play experience. There’s also the fact that most places building AR-15s have the proper tools for torquing to spec. Buy once, cry once really comes into play when buying a complete upper; Save up some money and buy the upper you set your heart on. Stick to your non-negotiables. One great thing about a manufacturer like Palmetto State Armory is that you can get just about any combo of barrel length, caliber, and handguard you are looking for at a competitive price. Suppose you are just starting there. I suggest a 5.56 AR-15, 16” upper with an M-LOk handguard. That way, you can hang all your weapon lights and lasers on it, which I promise you’ll one day get. This PSA AR-15 upper would be my pick.
I’ve got you covered if you want to build one instead of going the complete upper route. Let’s talk about the tools needed for completing your upper, what parts are required, and the specs to look for when buying each piece.
Tools for Building an AR-15 Upper
- Gunsmithing Vise: Pick up a nice vise and bolt it down tight. It will pay dividends moving forward.
- Barrel Extension Tool: I have a Geissele reaction rod and swear by it. Find one from any of the major brands and go with it, it will make fixturing a breeze.
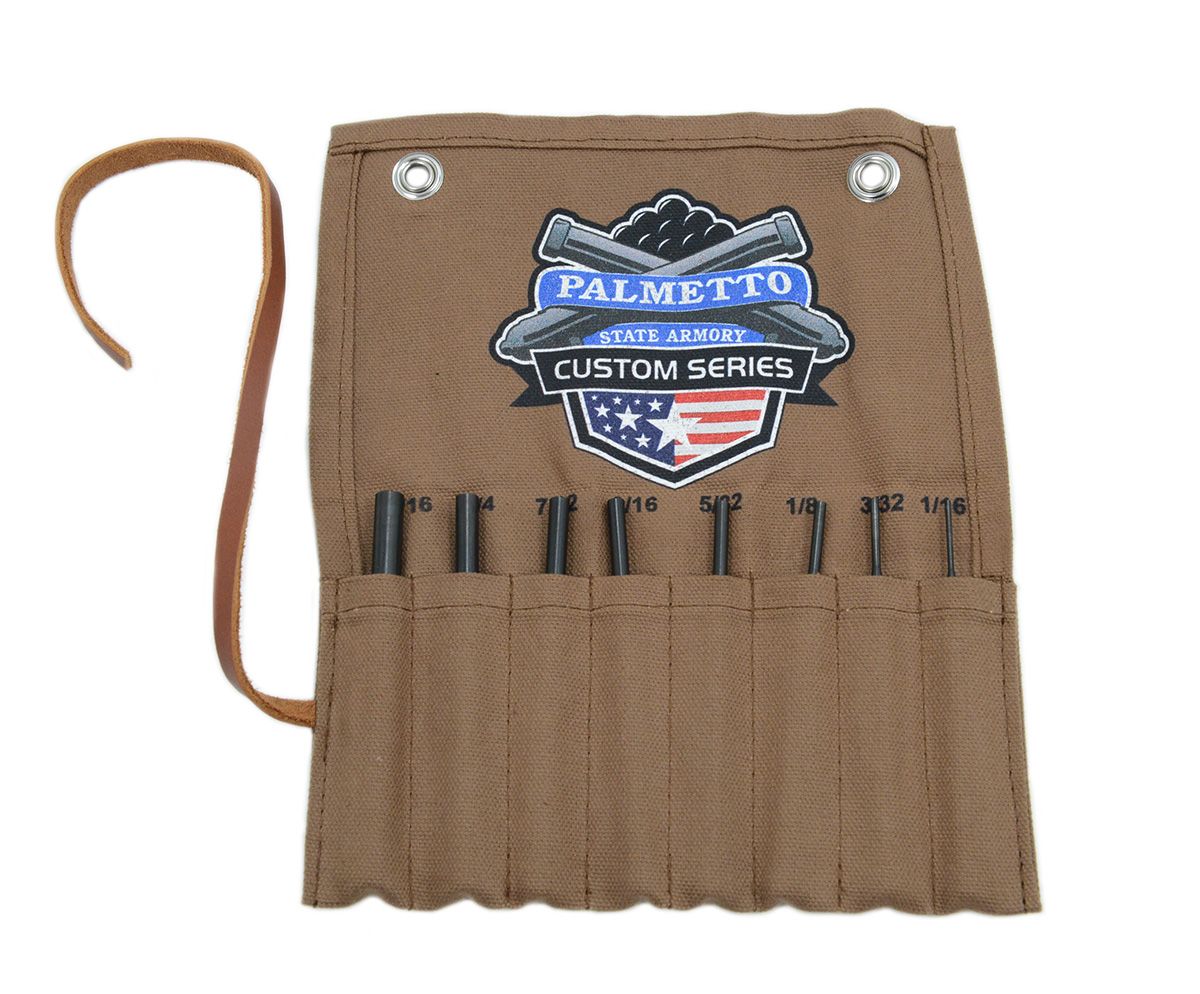
- Roll Pin Punches: Get a good set of punches and a small hammer. A stripped upper will need some roll pins installed and having the proper punches will save the day.
- AR-15 Action Wrench: Many barrel nuts can be installed with the generic AR action wrench, so pick one up.
AR-15 Stripped Uppers
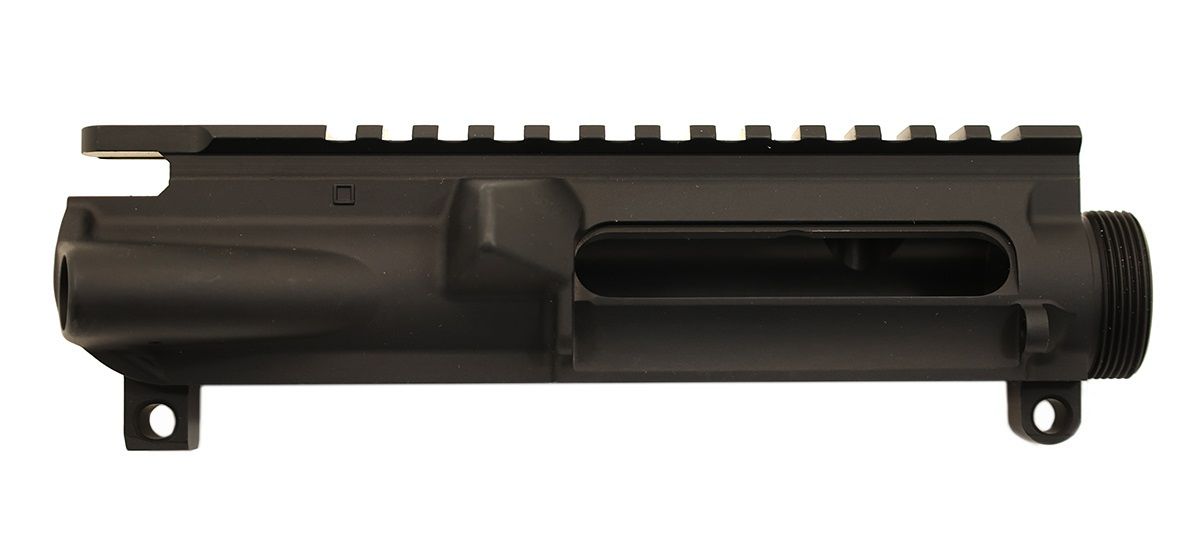
Stripped uppers are stripped uppers. One secret of the AR-15 industry is that only a handful of forges make the raw forgings, and only a couple of places finish machining the raw forgings. Pick up an upper that fits your budget.
Forward Assist / Dust Cover - If you go the stripped upper route, grab a forward assist/dust cover kit. They are sometimes called an upper completion kit.
AR Barrel Lengths, Profiles, and Finishes
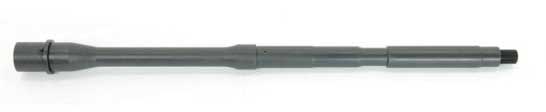
Barrel Length
Here’s where your first tough decision comes in. Starting with the barrel length, I would suggest a 16” barrel for your first gun. If you are building an AR pistol, you can go shorter, but remember to follow the NFA rules. Anything 16” and longer will legally work on a rifle. If you want to go shorter, you’ll need to SBR your receiver or make a pistol.
Caliber: If you build up your first upper, go for a 5.56 barrel. If you already have a 5.56 gun, consider options like .300 Blackout or 223 Wylde (an improved 5.56 chamber).
Barrel Profile
The profile of the barrel refers to the barrel’s thickness and how it’s cut. For new shooters, I generally suggest a government profile M4 barrel. It’s a great all-around profile where it’s not too heavy and can dissipate heat well. If you plan to carry your rifle around the woods, consider going with something like a pencil barrel; You save a lot of weight, but the trade-off is that it heats up quicker and loses a bit of accuracy as it does, and I mean a tiny bit (don’t lose sleep over those words). Because the barrel is on a diet, you also gain a bit of recoil. A Socom profile is excellent for machine guns, but don’t waste the weight if that isn’t you. Last up would be a super heavy bull barrel allowing consistent shots. Pick your poison and go with it.
Barrel Finish
Parkerized: The tried and true is parkerized, a phosphate conversion of steel. The top layer of steel gets converted to a rust-resistant oil-loving finish. Parked barrels have been around longer than the AR-15 and worked great. Most parked barrels will be chrome lined to help fight corrosion. This means that the rifling is chromed. Chrome adds the tiniest bit of material to the lands and groves and makes for a less accurate barrel; Think of it this way, you’ll go from 1 MOA accuracy to 1.5 MOA accuracy or more, not enough for the average shooter to notice, but worth discussing.
Nitride: Nitriding is a much newer surface finish in the gun world. The process adds nitrogen to the surface of the barrel, making it darn near diamond-hard (try machining one with HSS cutters, you can’t). The great thing about nitriding is that it is done to the rifling as well, so there’s no need to finish the rifling in chrome, giving a super hard corrosion-resistant, more precise finish.
Stainless: Stainless steel is another excellent option for barrels. No finish is required because the steel is high in nickel-chromium and other metals. Stainless is harder to machine and more expensive to produce, so these barrels are more expensive.
Don't forget to read our Guide to AR-15 Barrel Finishes if you want to know more.
Handguard Options

Next, let's get into handguards. The original plastic handguards work just fine if you are going for a budget build. Pick up a delta ring assembly if the handguard doesn’t have one. I suggest going with some type of M-LOK handguard to future-proof yourself. I like handguards that are a couple of inches shorter than the barrel, so you have room for a suppressor when you inevitably get one. The M-LOK also gives you the most versatility in a mounting kit. Keymod will work as well. I like M-Lok better.
Bolt Carrier Groups
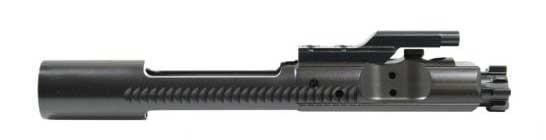
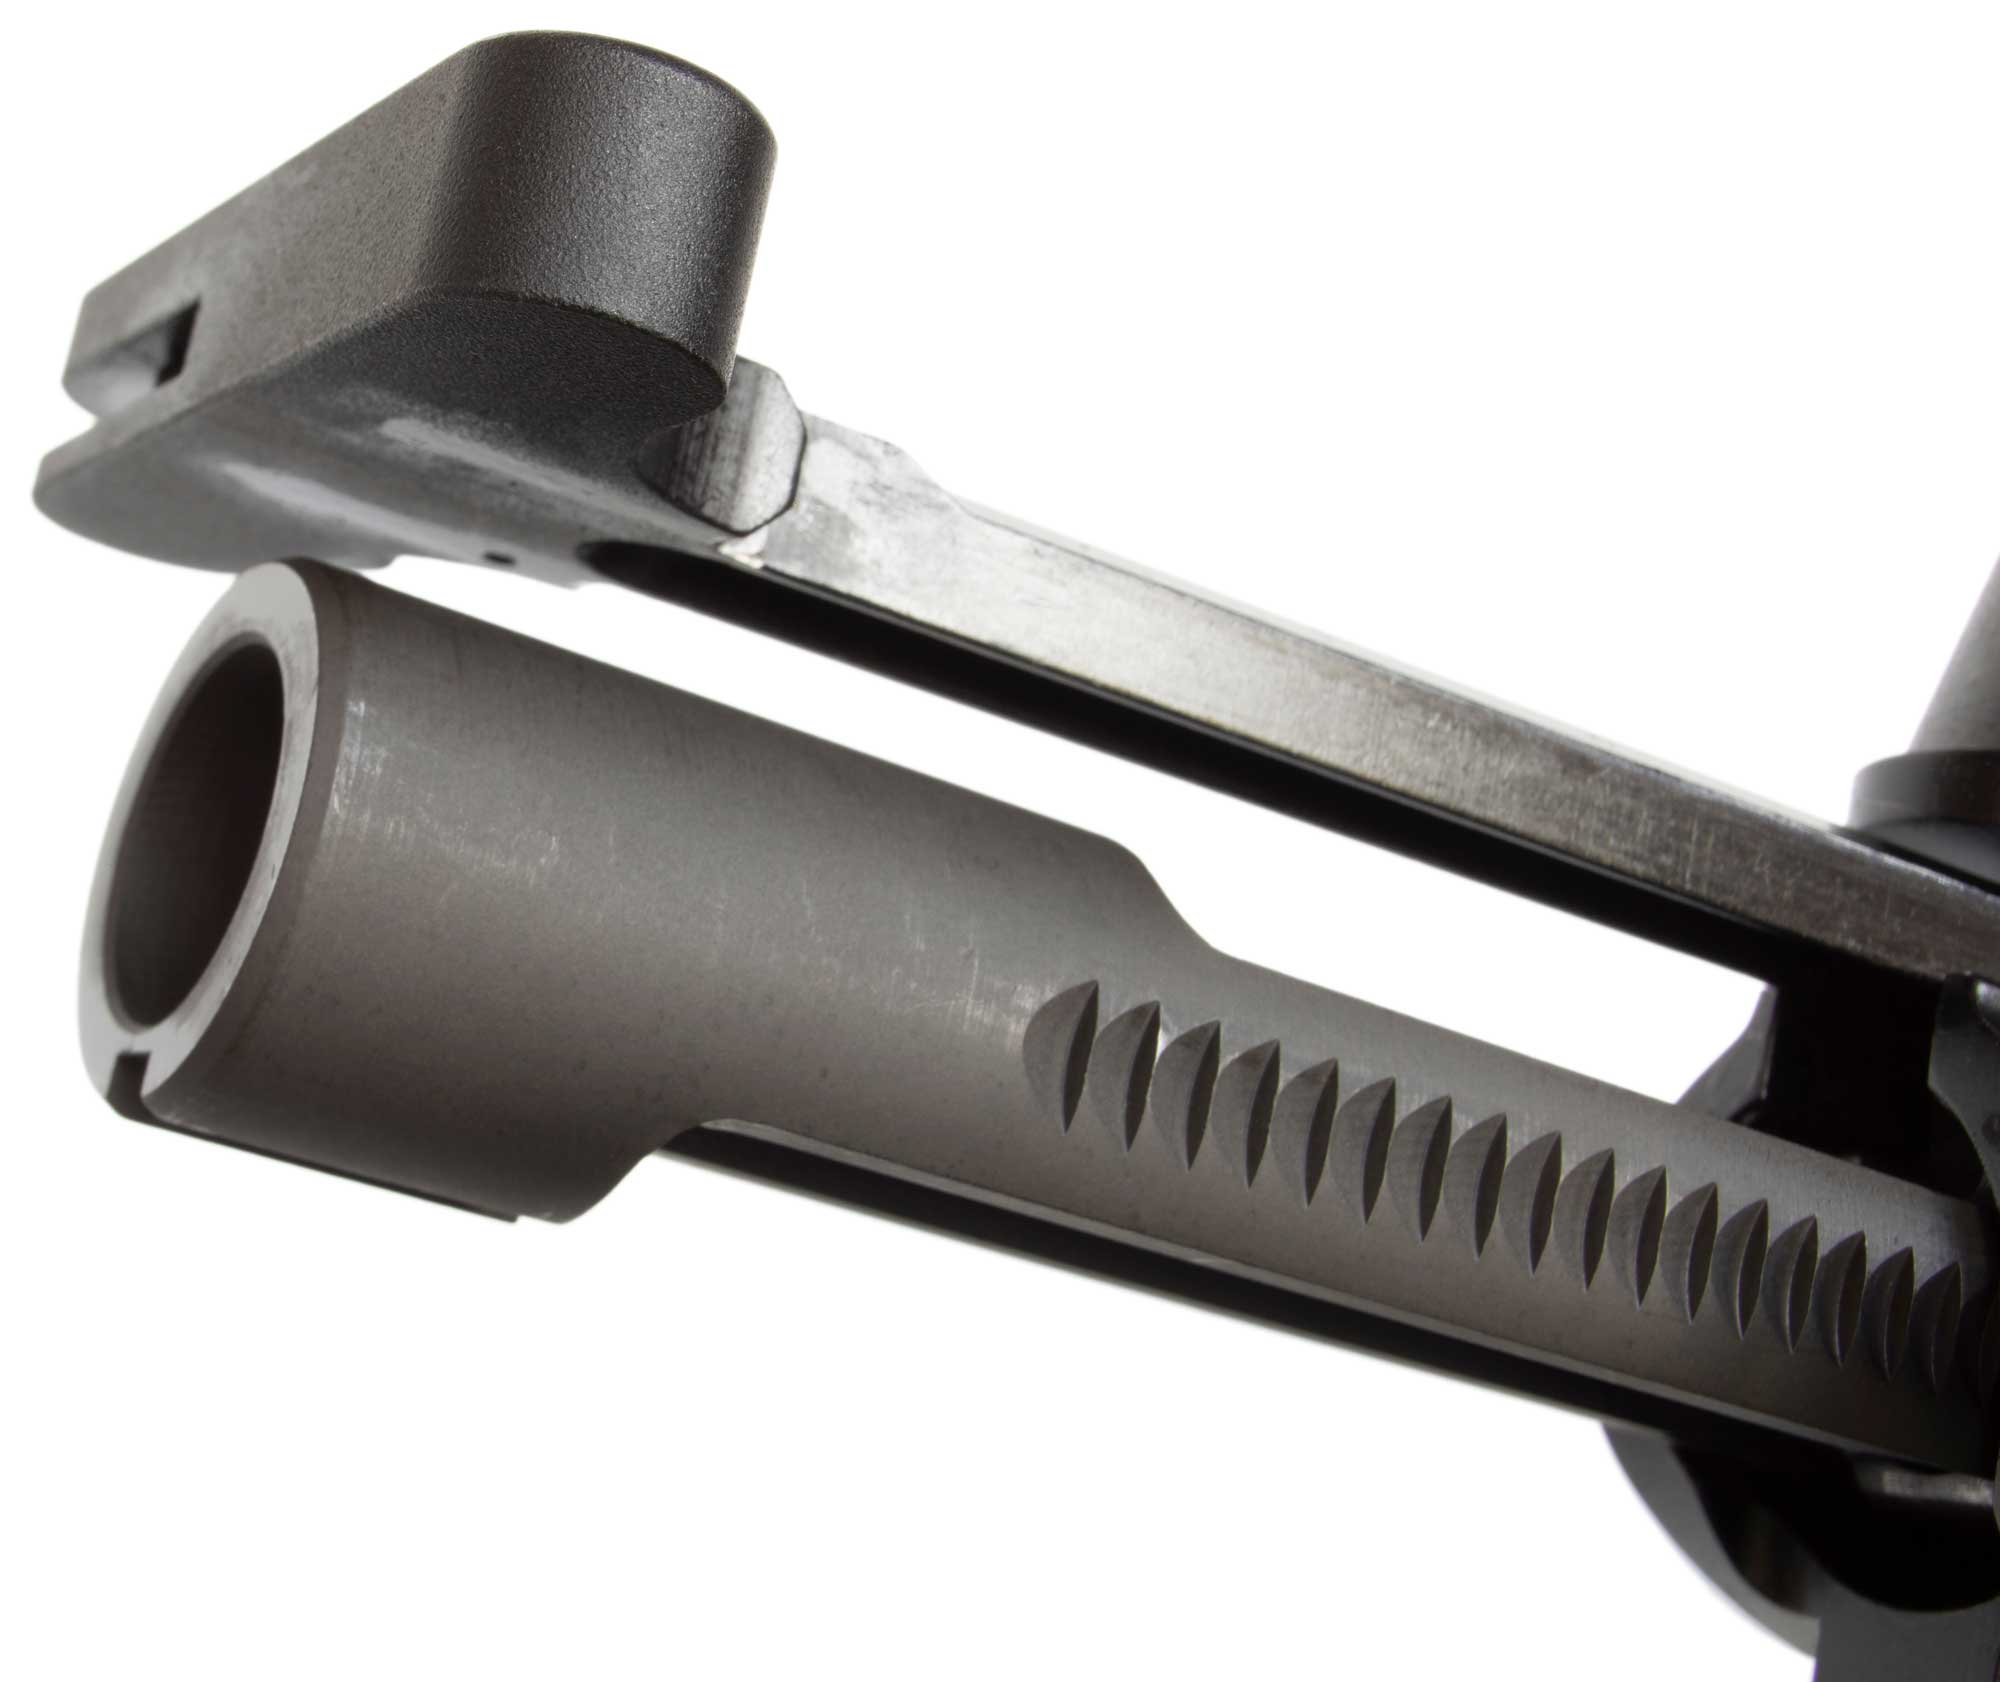
First, just get a full auto BCG; this won’t make your rifle shoot faster; it’s just the proper carrier for an AR-15. It has slightly more mass and is what should be in your rifle. The next thing to look for is adequate staking. Ensure the picture shows that the gas key is staking in; you DO NOT want that thing to come loose. Magnetic particle inspection, or MPI, is essential as it looks at the metal for micro-cracks and ensures that the batch of bolts won’t fail prematurely.
From here, the finish is the last important thing to consider. Hard chrome is the best you can get but tends to be expensive. From there, a phosphate BCG works well and has the proper lubricity to cycle the action properly. Nitride, again, is another excellent option. It has the same properties as a barrel nitride finish, high hardness, and corrosion resistance. Last is nickel boron. The nickel boron BCG works great at corrosion resistance and is very slick; make sure you buy from a company known for producing quality NiB products, as some bolts have hit the market with a NiB coating that’s too thick. Oh, and use lube. Seriously guys, the pencil pushers and marketers have been telling folks that oil isn’t needed since Vietnam, don’t fall for it. AR-15s like to be run on the wetter side; just lube it up.
Gas Blocks
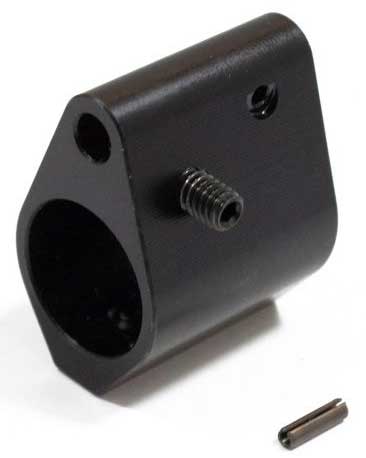
When it comes to an AR-15 gas block, make sure it is the proper size for your barrel. The specs page for the barrel you buy will tell you the gas block diameter, match those numbers. Just about any low-profile gas block will run fine. If you are planning to run a suppressor, consider an adjustable gas block, though an over-gassed gun runs great in all conditions; Who has time to change the gas settings on the fly? If you want the old-school look, go for an A2 front sight base; just be aware that those are usually pinned to the barrel which takes some skill.
Gas Tubes
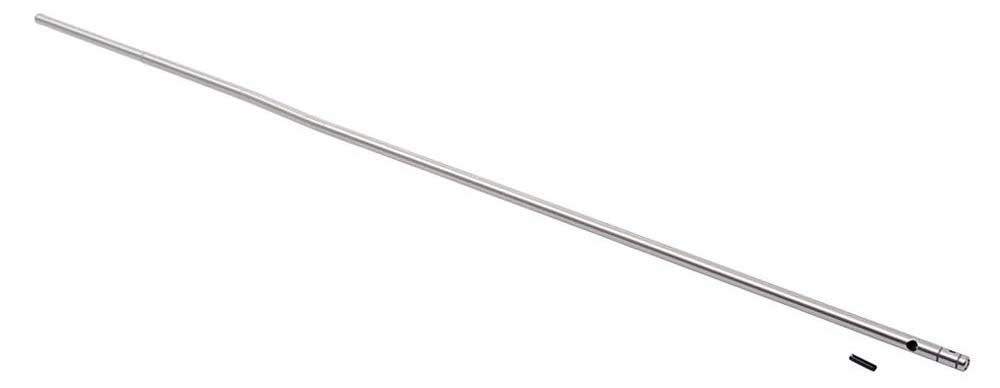
There’s no magic to the ar gas tube. Ensure you get the correct length for your barrel; again, check the barrel spec page. I’d go for a mid-length gas tube for a 16” barrel. You get a bit smoother recoil with a similar dwell time to a 14.5” with a carbine length tube. The longer the gas tube, the more gentle the gun will feel, but the less dwell time you’ll have. It’s all just a balancing game.
Charging Handles
Use a standard charging handle if you are on a budget. A bump up from there would be an oversized or ambi handle such as the PSA charging handle. If you are running a suppressor, consider getting the Geissele Airborne PRI gas buster, they help with gas in your face.
Muzzle Device
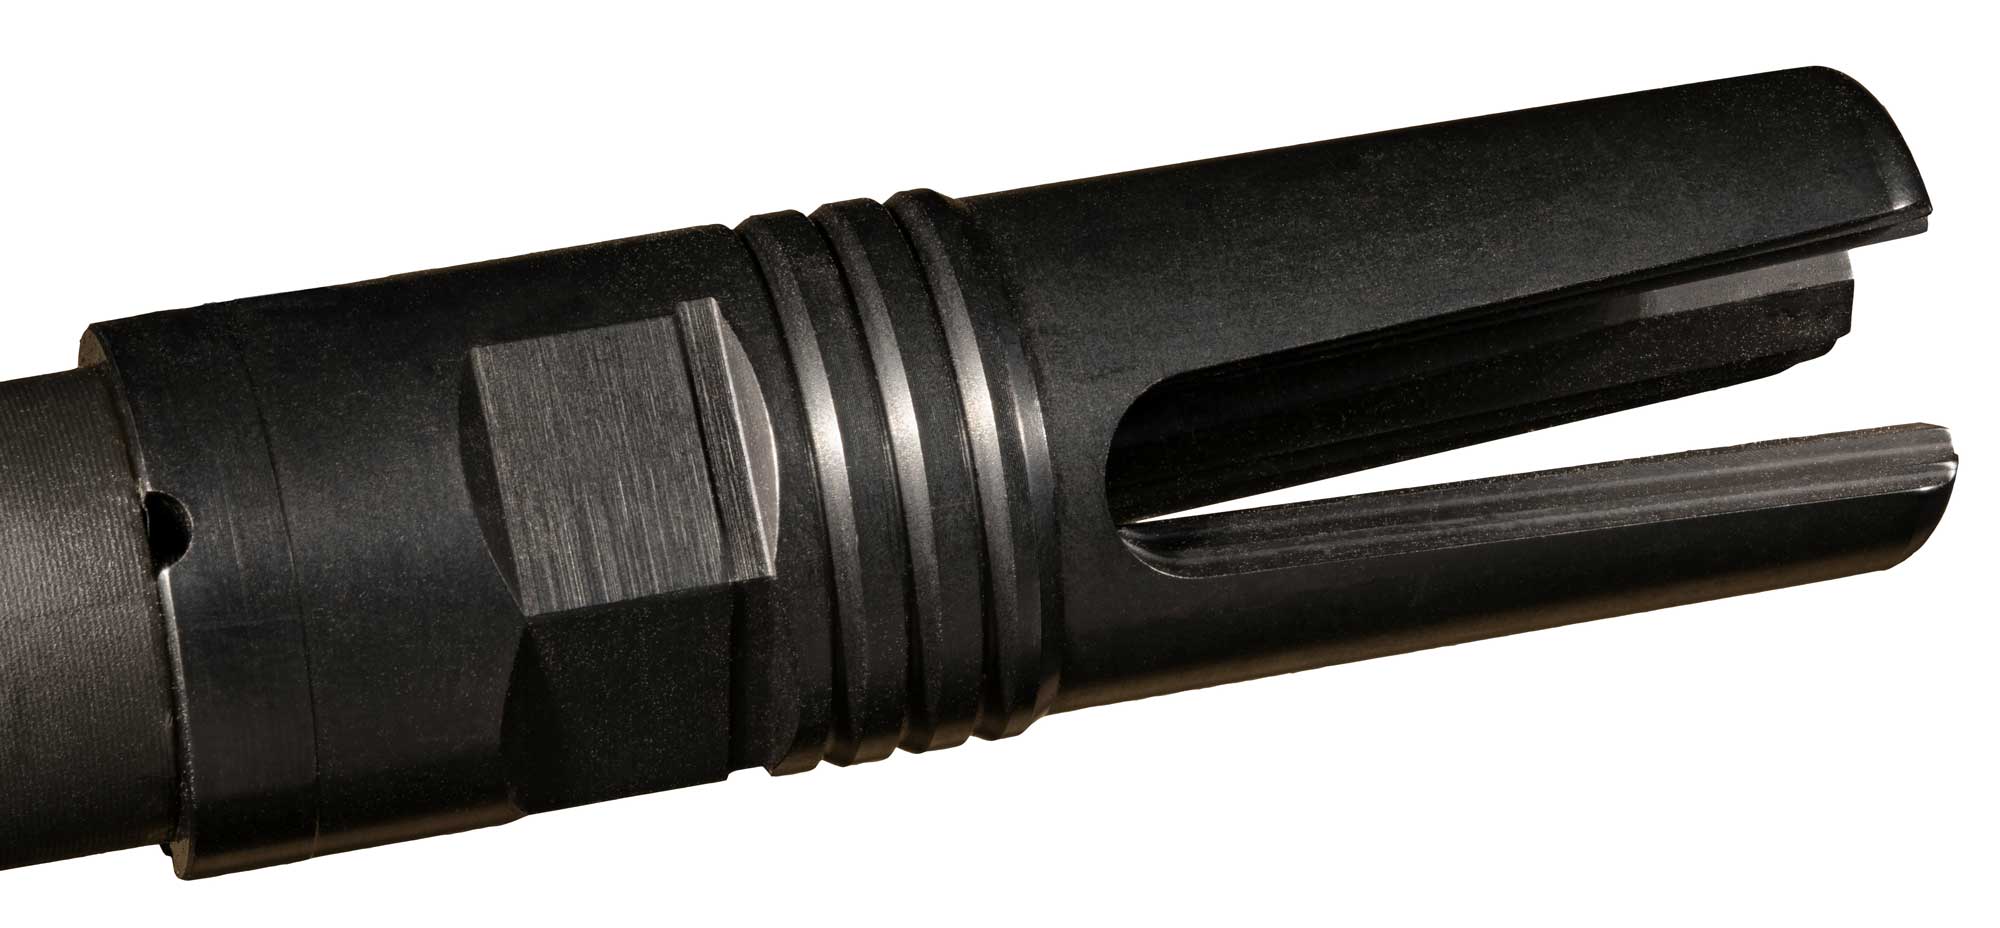
If this is your first upper and you don’t need anything special, go for a birdcage muzzle device; They are cheap and work great. If you want less recoil, a compensator works but will anger anyone standing next to you. If you are shooting at night, a flash hider is excellent. If you want the benefit of all of the above, get yourself a suppressor, they are worth it! If you want many of these benefits plus noise reduction, order a suppressor but note that the average wait time for a Form 4 approval is currently at 7-8 months.
That covers the essential parts of an AR-15 upper and what to look for when purchasing. If you are entirely new to AR-15s, pick up a complete upper from PSA; they are super affordable and will last. If this is your second or third upper, or you like to tinker, build it yourself. It’s a great feeling firing something you have put your blood, sweat, and tears into.